Roofing is one of the most crucial aspects of a home’s structure, offering protection against the elements and contributing to energy efficiency. Among the many types of roofing materials available, shingles remain one of the most popular choices due to their durability, aesthetic appeal, and relatively simple installation process. However, to ensure your roof functions properly and lasts for decades, it’s essential to install the shingles correctly. So, what is the proper way to install roof shingles?
In this guide, we’ll walk you through the step-by-step process for installing roof shingles, including the materials you’ll need, common mistakes to avoid, and tips for a successful installation. Whether you’re a homeowner planning to take on a DIY project or a professional roofer looking for a refresher, this article will provide all the necessary information.
Preparing for the Installation
Before you dive into the actual installation process, adequate preparation is key. Ensuring you have the right materials, tools, and safety measures in place will not only streamline the job but also increase the overall quality of the roof.
- Gather Your Materials and Tools
To install roof shingles, you’ll need the following materials:- Asphalt shingles (the most common type)Roofing nails (preferably galvanized)Roofing felt or underlaymentFlashing (for valleys and chimneys)Starter shingles (optional but recommended for a cleaner finish)Roof cement or adhesive (to seal the shingles)
- Hammer or nail gun
- Ladder
- Roofing knife
- Chalk line
- Measuring tape
- Shingle removal tools (if replacing old shingles)
For a wide variety of roofing materials and tools, you can check out a trusted roofing supplier here.
- Ensure Safety Measures
Working on a roof can be dangerous, so safety should be your top priority. Wear proper footwear with good traction, use a sturdy ladder, and always ensure you have someone around to help. It’s also a good idea to use fall protection equipment if necessary.
Step-by-Step Guide to Installing Roof Shingles

Now that you’re ready to get started, here’s a detailed breakdown of the process.
- Remove the Old Shingles (If Applicable)
If you are replacing an old roof, remove the old shingles first. Use a shingle removal tool or a pry bar to carefully lift and remove the old shingles. Be sure to dispose of the old material properly, and inspect the roof deck for any damage or rot. - Install Roofing Felt or Underlayment
Next, lay down a layer of roofing felt or synthetic underlayment over the roof deck. This acts as a moisture barrier and provides an extra layer of protection for the shingles. Begin at the eaves and work your way up the roof, overlapping each row by about 4 inches to ensure water runs off efficiently. - Install Starter Shingles
Starter shingles are designed to provide a secure foundation for the first row of regular shingles. Begin by nailing these shingles along the eaves, ensuring they hang slightly over the edge of the roof. Starter shingles will also help prevent wind uplift. - Install the First Row of Shingles
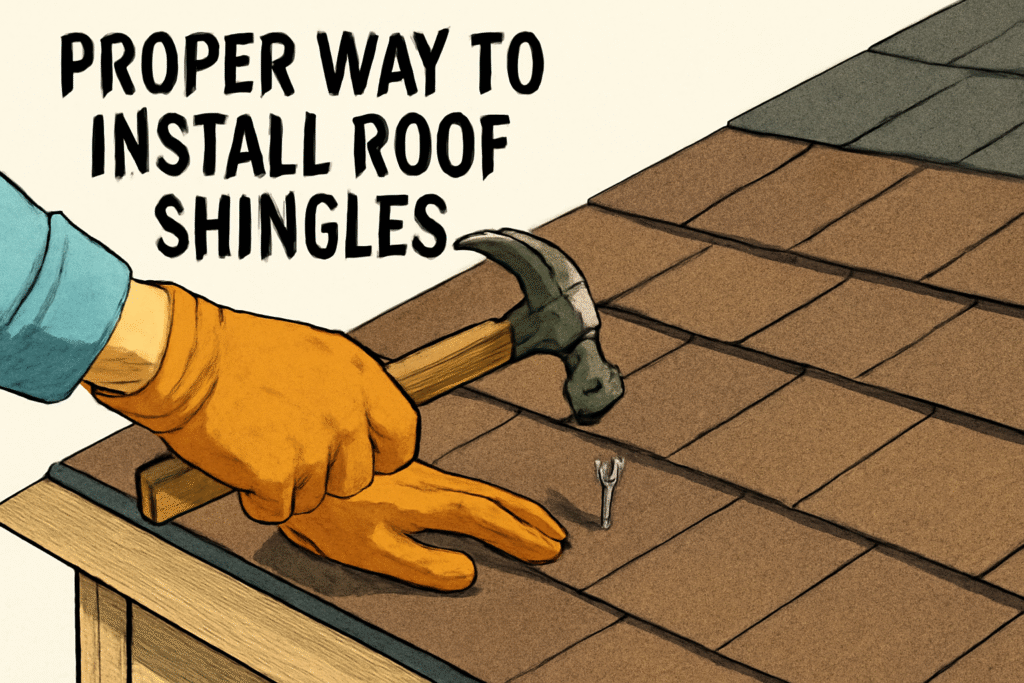
Start at the bottom of the roof and work your way up. Lay the first row of shingles directly over the starter shingles, aligning them along the edge of the roof. Use roofing nails to secure the shingles in place. Each shingle should be nailed in the nailing zone, which is typically located just above the adhesive strip. Make sure the nails are driven in straight, without piercing through the shingle. - Overlap and Stagger the Shingles
As you continue installing the shingles, overlap each row by about 5 to 6 inches. It’s important to stagger the seams of the shingles for better water shedding and a more aesthetically pleasing finish. Avoid lining up the seams from one row to the next, as this can lead to leaks and premature wear. - Nail the Shingles
For each row, use four to six roofing nails, depending on the type of shingles. The nails should be placed just below the adhesive strip and driven through the shingle into the roof deck. Ensure the nails are secure but avoid over-driving them, as this can cause the shingle to lift. - Install Shingles Along the Roof Ridge
Once you reach the top of the roof, you’ll need to install ridge shingles to cover the roof ridge. These shingles overlap the top row of regular shingles and are typically nailed into place. You may also choose to install ridge venting to improve ventilation in the attic. - Seal the Shingles
After all the shingles are installed, apply roofing cement or adhesive under the edges of the shingles, especially around the eaves and ridge, to prevent wind uplift and water infiltration. Be sure to seal any gaps around vents, chimneys, or skylights.
Common Mistakes to Avoid
- Not Staggering the Shingles
Staggering the shingles is critical for durability and proper water runoff. Lining up seams can create weak spots that are more prone to leaks. - Overdriving Nails
It’s easy to get carried away with hammering nails, but overdriving them can cause the shingles to buckle or lift, leading to costly repairs. Always place nails in the proper nailing zone and drive them flush with the surface of the shingle. - Skipping the Underlayment
While it may be tempting to skip the roofing felt or underlayment to save time, doing so can leave your roof vulnerable to moisture damage and leaks. Never skip this essential step.
Tips for Long-Lasting Roof Shingles
- Regular Inspection: Periodically check your roof for damaged or missing shingles, particularly after storms or extreme weather.
- Proper Ventilation: Ensure your attic has proper ventilation to reduce the risk of moisture buildup and increase the lifespan of your shingles.
- Maintenance: Clean your gutters regularly to prevent water buildup, which can lead to shingle deterioration.
Conclusion
Installing roof shingles may seem like a challenging task, but with the right preparation, tools, and technique, you can achieve a durable, professional-quality roof that protects your home for years. Whether you’re a DIY enthusiast or a professional roofer, following the proper steps is crucial for ensuring the shingles are installed correctly and will provide maximum protection against the elements.
By adhering to the proper installation methods, you not only ensure your roof’s longevity but also maintain the safety and comfort of your home. If you’re unsure about any step of the process, it’s always a good idea to consult with a professional roofing contractor who can ensure the job is done right.
FAQs
- What materials do I need to install roof shingles? You will need asphalt shingles, roofing nails, roofing felt or underlayment, flashing, and starter shingles. Additionally, you’ll need tools like a hammer, ladder, and roofing knife. You can check the detail here.
- How do I know where to place nails on the shingles? Nails should be placed just below the adhesive strip on the shingle. Ensure they’re driven straight and flush with the surface to prevent damage to the shingles.
- Can I install shingles without removing the old ones? While it’s possible to install new shingles over old ones, it’s not recommended because the old shingles may hide underlying damage, which can cause problems later on.
- How long does it take to install roof shingles? Depending on the size of the roof and the number of people working, it can take anywhere from one to three days to install roof shingles.
- How often should I replace roof shingles? On average, asphalt shingles last about 20 to 25 years. However, if you notice signs of damage like curling or missing shingles, it’s time to consider replacing them.
- Can I install roof shingles in winter? While it’s best to install roof shingles in warmer weather, it’s possible to install them in winter. You will need to ensure the shingles are warm enough to seal properly, as cold weather can make the shingles brittle and harder to work with.


